 Contact
 Account
How to Apply Exterior Wood Sealer: Step-by-Step (Fence, Deck, Siding)
Introduction
Wood exposed to the elements can suffer significant damage over time. Sealing helps protect against moisture, sunlight, and changing temperatures. Learning to seal exterior wood properly is a wise investment in your home. Applying wood sealer might seem daunting, but it’s very straightforward with the right know-how. Whether you’re tackling a new project or sprucing up old structures, sealing is crucial. It’s an essential task for any homeowner or DIY enthusiast.
The right sealer, when applied correctly, enhances wood’s natural beauty. It also prevents issues like warping, cracking, and discoloration. With this guide, you’ll select the right products and techniques for optimal protection.
Throughout, you’ll discover various sealing methods. We’ll discuss how sealers differ and how to choose what’s best for you. By following our steps, maintaining exterior wood will be an easy, rewarding process.
Importance of Wood Sealer
Wood sealer is a powerhouse for protecting outdoor wood. Exposure to the elements can be unforgiving, making sealing a must. This process guards against moisture, sunlight, and temperature swings.
Proper sealing extends the life of your wood structures. Without it, wood can warp, crack, or discolor, degrading over time. Homeowners who seal their wood effectively preserve their investment.
Consider these primary benefits of wood sealers:
- Protects against UV damage
- Prevents water absorption and mold growth
- Enhances natural wood grain and color
By sealing wood, you’re not just preserving its look. You’re ensuring it stays strong and useful for years to come.
Overview of Wood Finishing Products
Wood finishing products vary in function and formulation. Each offers unique benefits tailored to specific needs. Understanding these products helps in making informed choices.
First, there’s a variety of wood sealers, from water-based to oil-based. Each one provides different levels of protection and aesthetic appeal. Water-based options are often easier to handle, while oil-based ones offer deep penetration and durability.
Some key wood finishing products include:
- Clear and tinted sealers
- Stain and sealant combos
- Preservative treatments
Choosing the right product can enhance your wood’s longevity and look. Recognize the environment and conditions your wood will face. Then, select the product that offers the best protection.
How to Apply Presidential Shingle Oil specifically
Presidential Shingle Oil is effective for protecting outdoor wood and enhancing their look. Applying it properly ensures optimal results. While this guide presents general guidelines for applying wood sealers, here is our full step-by-step for Presidential Shingle Oil application specifically.
Before using, clean the shingles thoroughly. Remove dirt, moss, and any debris. Ensure the shingles are dry to prevent trapping moisture.
When applying, follow these steps:
- Clean off the wood surface and clear debris.
- Use a brush, roller, or sprayer for even coverage.
- Apply in dry weather with no rain forecast for at least 24 hours.
- Maintain minimal foot traffic and allow it to dry and cure for 24 – 48 hours.
Presidential Shingle Oil not only improves durability but also enhances visual appeal. Its application maintains the performance and attractiveness of wood shingles.
Watch this step-by-step video guide on how to apply Presidential Shingle Oil:
Types of Wood Sealers
Choosing the right wood sealer is crucial for successful protection. The options available cater to different needs and preferences. By understanding the types, you can select the best fit for your project.
The main categories of wood sealers are water-based, oil-based, and hybrid. Each offers distinct benefits, and their application affects the finish and longevity. The environment and specific wood type often dictate the most suitable choice.
Oil-based sealers offer deep penetration, providing long-lasting protection, making them a preferred choice for outdoor and heavy-duty applications. Ease of use make water-based sealers popular. These sealers allow for easy cleanup and are great for indoor applications.
Understanding these varieties will help in picking the perfect match for your exterior wood needs.
When selecting a sealer, consider the specific needs of your project:
- Durability and protection level
- Aesthetic finish and appearance
- Environmental impact and ease of application
1. Water-Based Sealers
These sealers dry quickly, reducing waiting time between coats. They resist mold and mildew, perfect for humid areas. This quick-drying feature is beneficial in climates with unpredictable weather.
Key benefits of water-based sealers:
- Low environmental impact
- Quick drying and easy cleanup
- Effective mold and mildew resistance
While excellent for many projects, they may need more frequent reapplication. Consider your environment and required durability when choosing water-based options.
2. Oil-Based Sealers
Oil-based sealers are known for their deep wood penetration. They provide a rich, lasting finish, enhancing natural wood grain. These sealers offer superior protection against water and sun damage.
While they dry slower, this allows for thorough saturation, offering robustness.
Considerations for oil-based sealers:
- Deep penetration for long-lasting protection
- Enhances wood’s natural beauty
- Requires careful cleanup and ventilation
Perfect for high-traffic areas, oil-based sealers are durable and resilient. Their protective quality makes them suitable for large, exposed surfaces.
Preparing the Surface
Proper surface preparation is key to a successful wood sealing project. Begin by ensuring the wood is clean, free of dust, dirt, and mildew. This step is crucial for the sealer to adhere effectively.
Once clean, assess the wood for any roughness or old finishes that need removal. Sanding aids in preparing a smooth, even surface. This helps ensure the sealer penetrates deeply and evenly.
After sanding, it’s important to test the wood for moisture content. The wood must be dry before proceeding to prevent moisture from getting trapped. Excess moisture can lead to sealing problems and affect longevity.
Take these steps to prepare the surface:
- Thoroughly clean to remove dirt and debris.
- Sand to create a smooth and receptive surface.
- Check for moisture levels to ensure proper adhesion.
Surface preparation might take time, but it guarantees the sealer’s effectiveness. This effort ensures your wood surfaces remain protected and beautiful.
Cleaning the Wood
Cleaning the wood is the first step in surface preparation. It’s essential to remove all dirt, debris, and mildew using a suitable wood cleaner. Thorough cleaning ensures the sealer bonds well with the wood.
Optionally, you can begin by using a mild detergent or commercial wood cleaner. Follow the instructions for application and scrubbing. Rinse the surface with water and let it dry completely.
Steps for cleaning:
- Apply a wood cleaner according to the label instructions.
- Scrub the surface with a brush to remove grime.
- Rinse thoroughly and allow it to dry before sanding.
Proper cleaning improves the sealer’s adhesion and enhances the wood’s appearance.
Sanding Techniques
Sanding is vital for creating a smooth surface if you have any previously applied alternative products. It helps remove old finishes and evens out the wood. Choose the right grit sandpaper based on the wood’s condition.
Start with coarser sandpaper for rough areas and finish with finer grits. This ensures a smooth surface for optimal sealer absorption. Sand along the wood grain to avoid scratches and improve aesthetics.
Sanding steps include:
- Use coarse sandpaper for initial smoothing.
- Progress to finer grits for a polished finish.
- Sand along the grain to prevent scratches.
Taking the time to sand properly helps achieve a professional-looking finish. This step enhances both the function and beauty of your wood surfaces.
Testing for Moisture Content
Testing for moisture content ensures the wood is ready for sealing. Excess moisture can impair sealer adhesion, leading to poor results. Use a moisture meter to check the wood’s moisture level.
Ensure it reads below recommended levels before applying the sealer. This precaution prevents future problems and enhances the wood’s durability.
How to Apply Wood Sealer
Applying wood sealer is a straightforward process. Start by gathering essential supplies, including safety gear for protection. Select the appropriate sealer based on your wood type and environmental conditions.
Prepare the sealer according to the manufacturer’s instructions. Proper preparation ensures even and effective application. Follow the step-by-step method to achieve the best results.
During application, maintain a steady hand for uniform coverage. Techniques vary based on tools like brushes, rollers, or sprayers. Adjust your method to suit the specific project requirements.
Let the sealer cure by adhering to recommended drying times. This step is crucial for achieving a durable finish. Once complete, admire your protected and enhanced wood surface.
Supplies Needed
Before starting, gather all necessary materials and tools. Having everything at hand streamlines the process and ensures efficiency.
Here’s a basic list of supplies:
- Wood sealer
- Brushes, rollers, or sprayers
- Safety gloves and mask
- Sandpaper (if needed)
- Drop cloths to protect surrounding areas
These supplies are essential for a successful sealing project. Proper preparation and the right tools make a noticeable difference.
Step-by-Step Application
Applying wood sealer involves several key steps. This guide helps you achieve the best results. Follow each step carefully to ensure the wood is well-protected.
Basic steps include:
- Choosing the right sealer for your wood
- Preparing the sealer according to guidelines
- Applying the sealer evenly with appropriate tools
- Allowing the wood sealer to dry properly
Each of these steps contributes to the overall success of the sealing process.
Step 1: Choose the Right Sealer
Selecting the correct sealer ensures optimal protection. Different sealers provide various benefits, such as UV resistance or moisture protection. Consider your wood type and environmental factors.
Key considerations:
- Wood type and age
- Local climate conditions
- Desired finish and color
Choosing wisely affects the long-term durability of your wood surfaces.
Check out our guide on choosing the right sealer for your wood project.
Step 2: Prepare the Sealer
Proper preparation enhances the sealer’s performance. Follow instructions on the product label for mixing or stirring. Some sealers may require dilution.
Preparation steps:
- Mix thoroughly according to instructions
- Ensure consistent texture and color
- Avoid contaminants during preparation
These steps ensure the sealer is ready for smooth application.
Step 3: Application Techniques
The technique used affects the quality of the finish. Apply the sealer evenly using your chosen method. Brushes offer precision, while rollers cover large areas quickly.
Technique tips:
- Use a brush for corners and detailed work
- Employ a roller for larger surfaces
- Maintain a uniform application speed and pressure if using a sprayer
Choose the technique that best suits the size and nature of your project for the best results.
Step 4: Drying and Curing Times
Adhering to drying times is crucial for effective sealing. Each product has specific curing times that must be followed. This step ensures proper adhesion and lasting protection.
Drying tips:
- Refer to manufacturer guidance for specific times
- Allow adequate ventilation for faster curing
- Avoid contact with the surface until fully dry
Following these guidelines ensures the sealer cures correctly, providing enhanced protection and longevity.
Specific Applications
The application of wood sealer varies with different structures. Each requires a unique approach for the best protection and finish. Understanding these distinctions is crucial for effective sealing.
Specific wood types require tailored sealing methods. Different surfaces, like decks or fences, need different preparation and application techniques. Using the right method enhances both protection and appearance.
While wood decks demand careful attention to foot traffic areas, fences endure harsh weather conditions. Sealing strategies should reflect these considerations. By tailoring your approach, you protect your investment effectively.
Common applications include decks, fences, and wood siding. Each has its specific maintenance needs and sealing techniques. Proper application preserves the structural integrity and visual appeal.
Understanding the unique requirements for each wood application helps achieve long-lasting results. By customizing the approach for each type, you ensure durability and beauty.
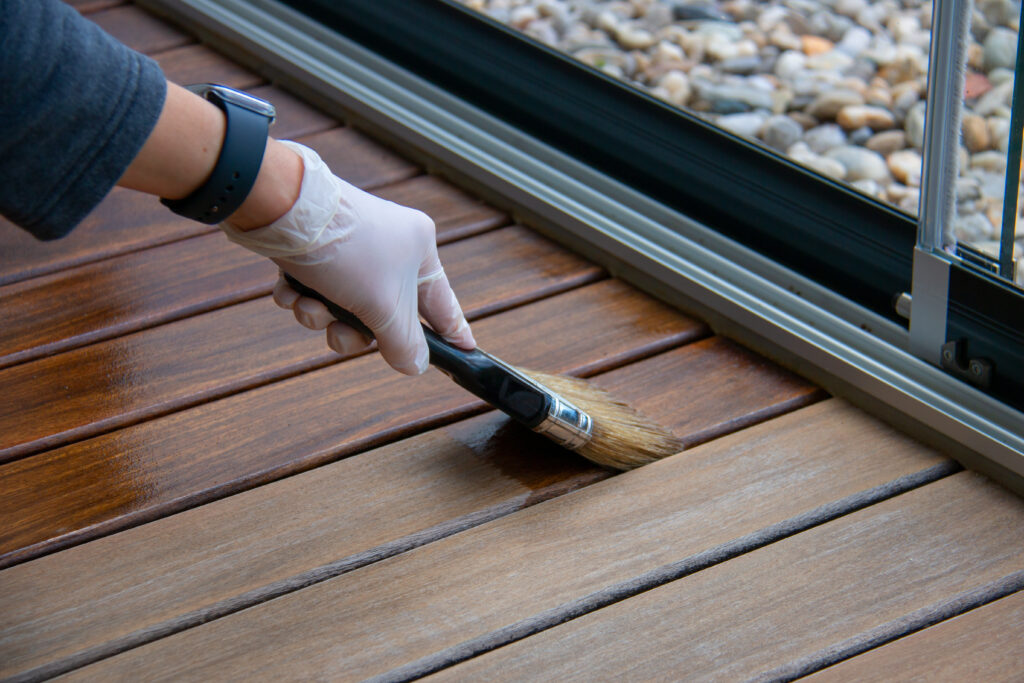
How to Apply Sealer on a Wood Deck
Sealing a wood deck enhances longevity and aesthetics. It requires a careful approach due to exposure to foot traffic and weather.
Key steps include:
- Cleaning the deck thoroughly before application
- Using a roller for large, flat surfaces
- Utilizing a brush for edges and tight spots
Ensure complete coverage and consistent sealer application. The focus should be on durability while maintaining a refined finish.
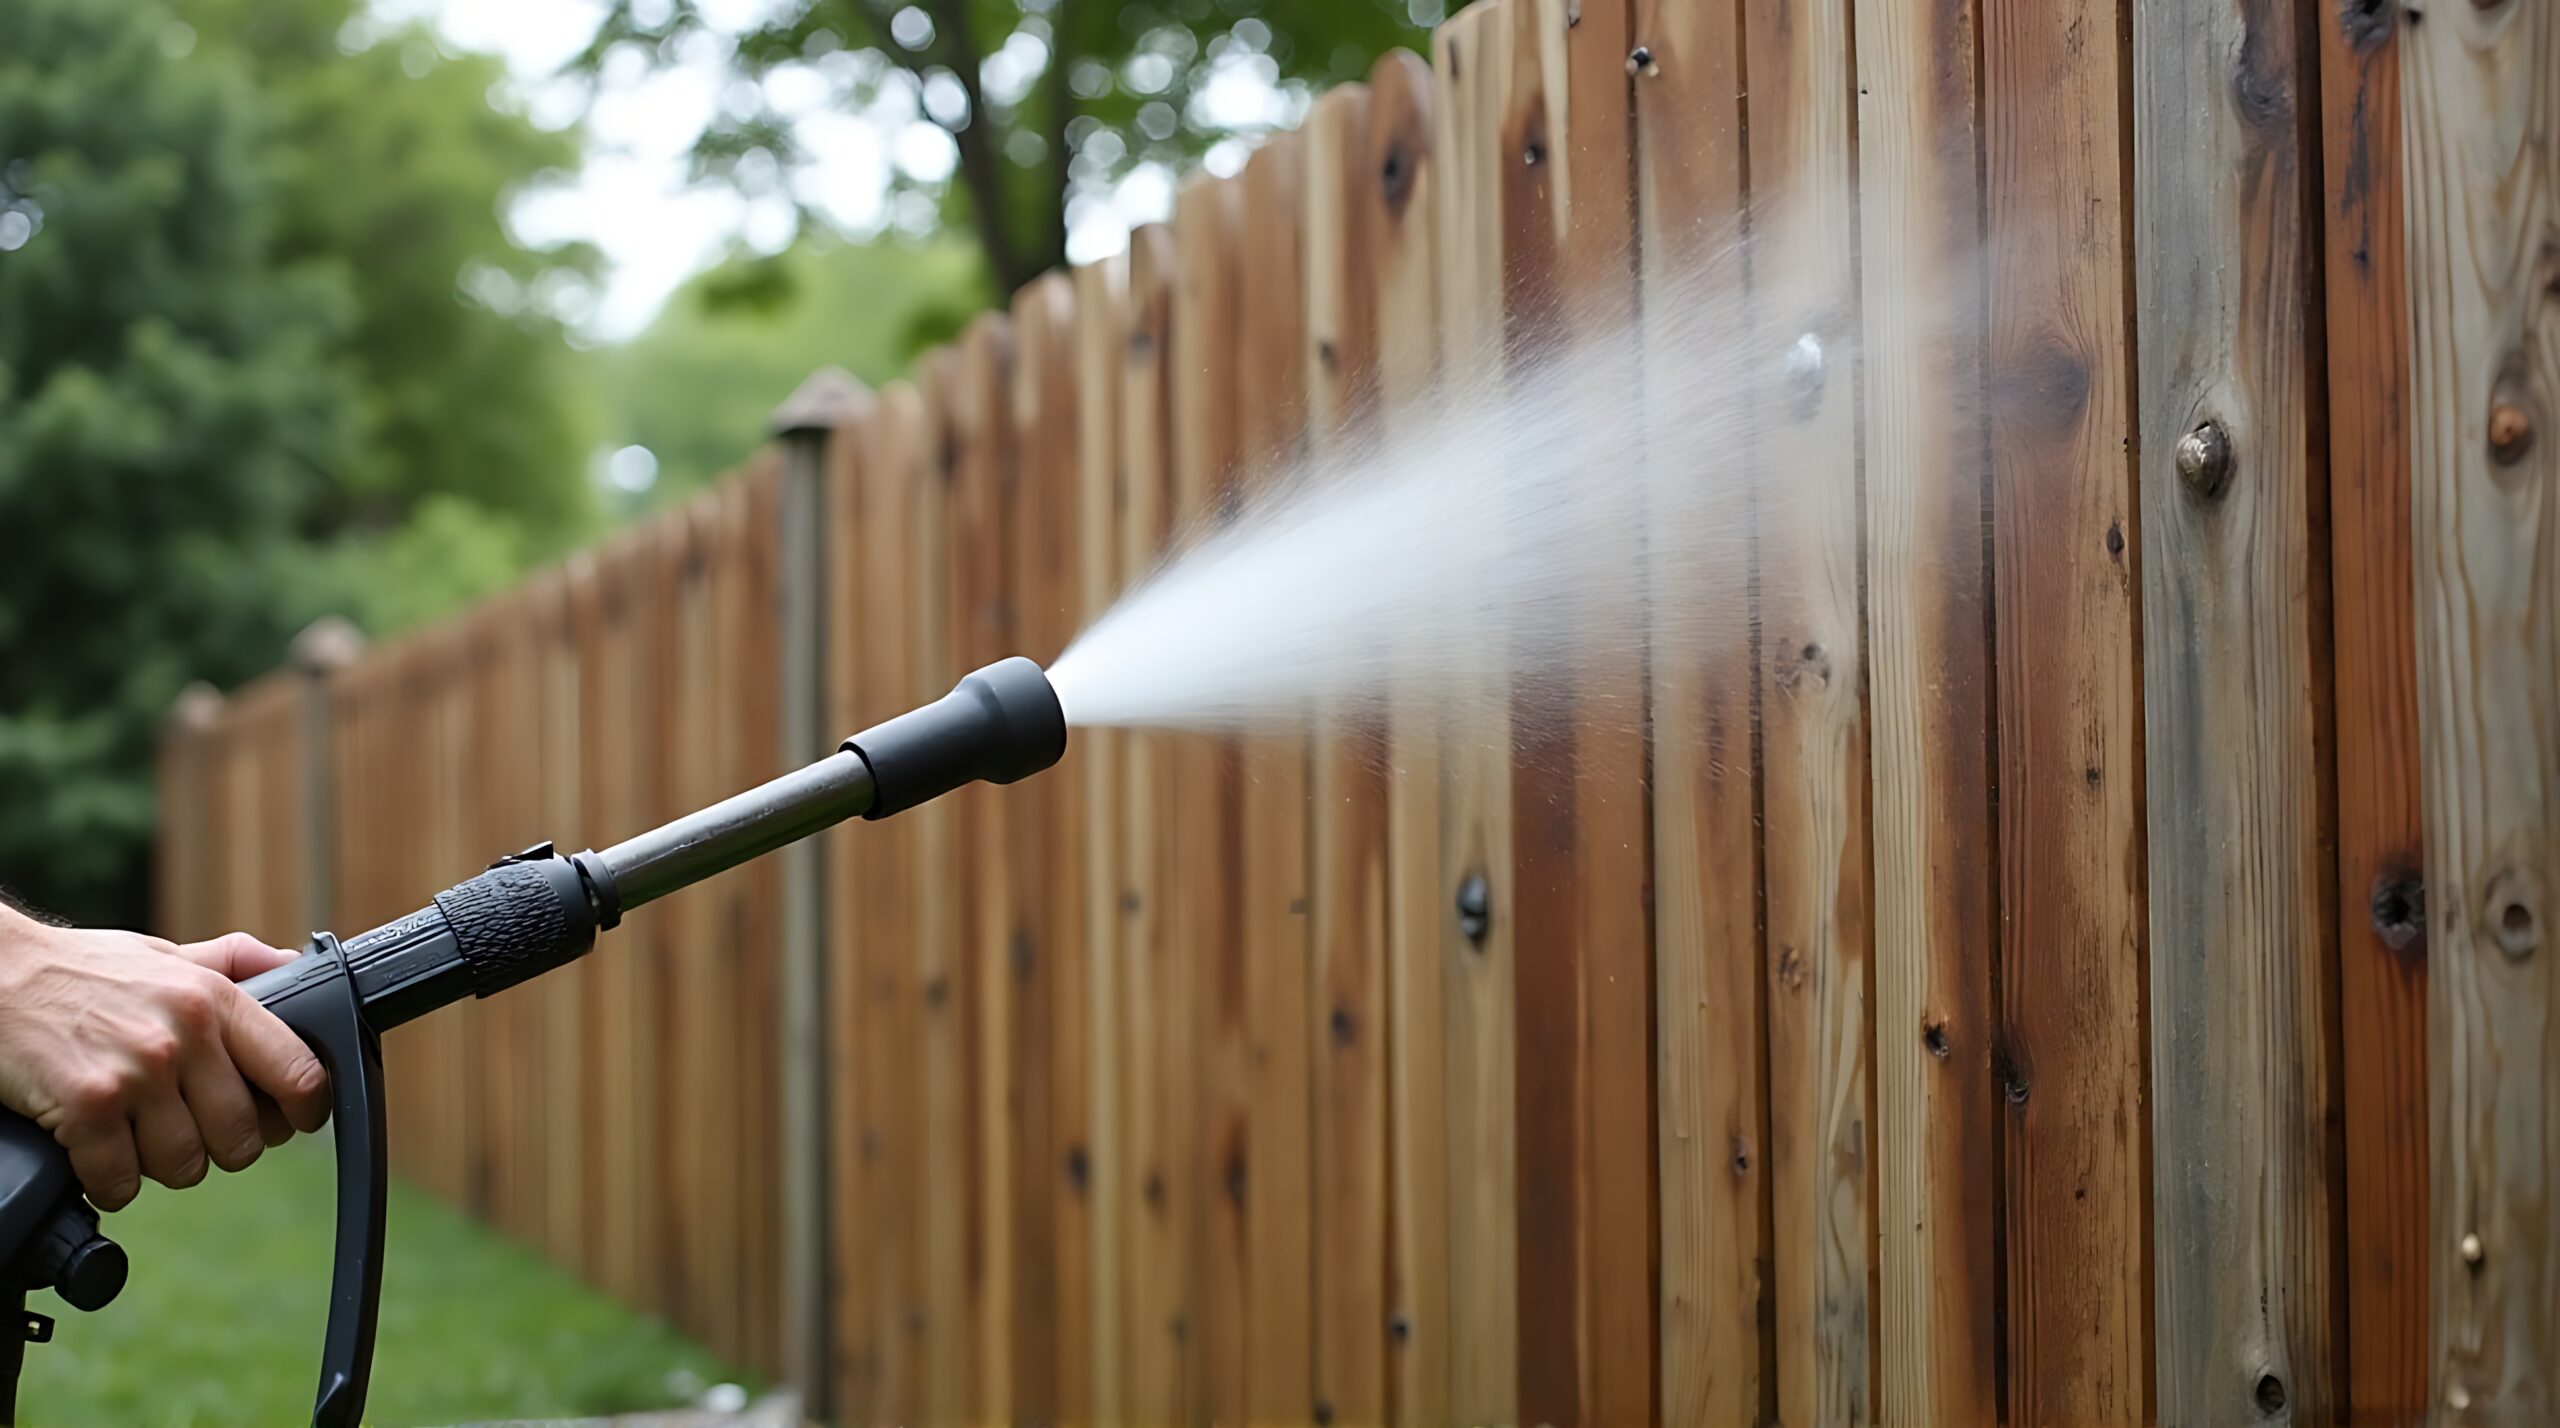
How to Apply Sealer to a Wood Fence
Wood fences demand protection from constant exposure to elements. A thorough sealing process is essential to prevent deterioration.
Steps include:
- Cleaning the fence with a pressure washer
- Applying sealer with a sprayer for even coverage
- Focusing on individual slats for thorough protection
Regular maintenance and inspection ensure your fence stays robust and visually appealing through varying conditions.
How to Apply Sealer on Wood Siding
Wood siding benefits from sealer application that combats weathering. Precision in sealing enhances protection and beauty.
Apply sealer by:
- Starting at the top and working downwards
- Using a brush to cover grooves and edges
This method ensures all areas are evenly coated, providing comprehensive protection against moisture and sunlight damage.
Preventing Wood Warping
Wood warping is a common issue that can affect the structural integrity of your wood surfaces. Effective sealing plays a significant role in preventing this problem. By creating a moisture barrier, sealers reduce the likelihood of warping.
Proper application techniques are critical to achieving a warp-free surface. Ensuring that the wood is completely dry before sealing is crucial. Consistent reapplication of sealer helps maintain protection and stability.
Key actions to prevent warping include:
- Choosing the right sealer for your climate
- Monitoring moisture levels regularly
- Applying sealer evenly across surfaces
Tips for Maintenance and Care
Ongoing maintenance is essential for sealed wood. Regular care ensures the longevity and appearance of your wood surfaces. Consistent practices prevent damage and reduce the need for repairs.
Inspection and maintenance should be scheduled regularly. Pay attention to areas exposed to extreme weather conditions. Reapply sealer as needed to maintain effective protection.
Essential maintenance tips include:
- Conducting visual inspections for signs of wear
- Cleaning surfaces gently to remove debris
- Touching up areas where sealer has worn off
By adopting these practices, your wood surfaces will stay beautiful and resilient against the elements for many years.
FAQs
Many homeowners have questions about wood sealers. Understanding these can lead to better results. Here are some common inquiries.
What is the Typical Drying Time for Wood Sealers?
Drying times vary between sealers. Water-based options generally dry faster than oil-based ones. Typically, expect between 24 and 48 hours.
Factors influencing drying time include:
- Ambient temperature
- Humidity levels
- Product type
Can I Apply Sealer on Wet Wood?
It is not advisable to apply sealer to wet wood. This can trap moisture and lead to warping. Always ensure the wood is completely dry first.
Essential steps before sealing include:
- Checking moisture content
- Allowing wood to air-dry completely
- Using a moisture meter for accuracy
Following these tips ensures a successful sealing process.
Conclusion
Applying exterior wood sealer enhances the longevity and beauty of your wood surfaces. Proper application ensures your fence, deck, or siding stands resilient against the elements.
Regular maintenance is essential. Periodic inspection and reapplication keep the wood protected and looking its best. With the right techniques and products, sealing can be a simple and rewarding DIY project that safeguards your investment for years to come.